|
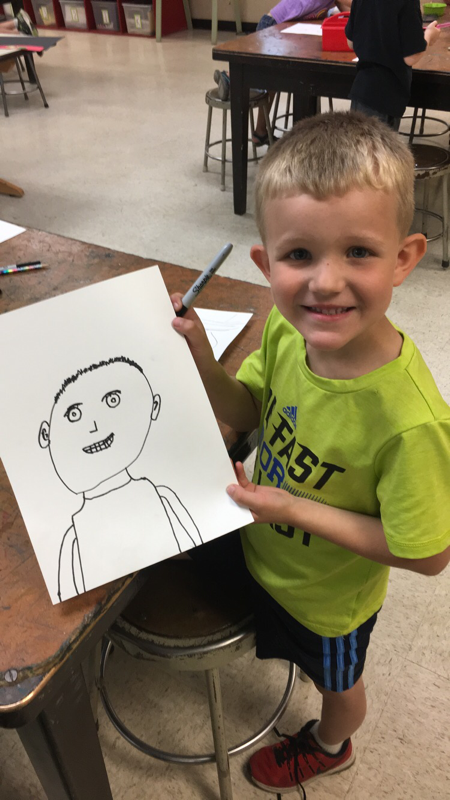
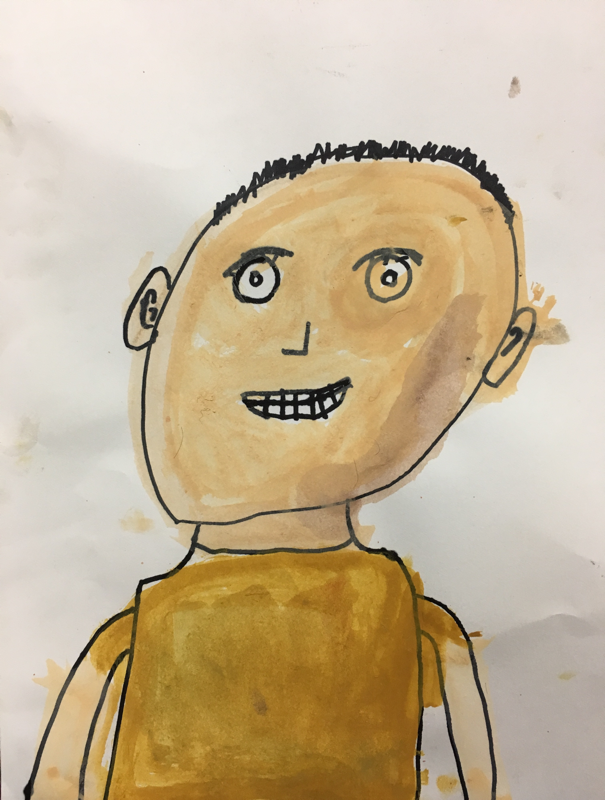
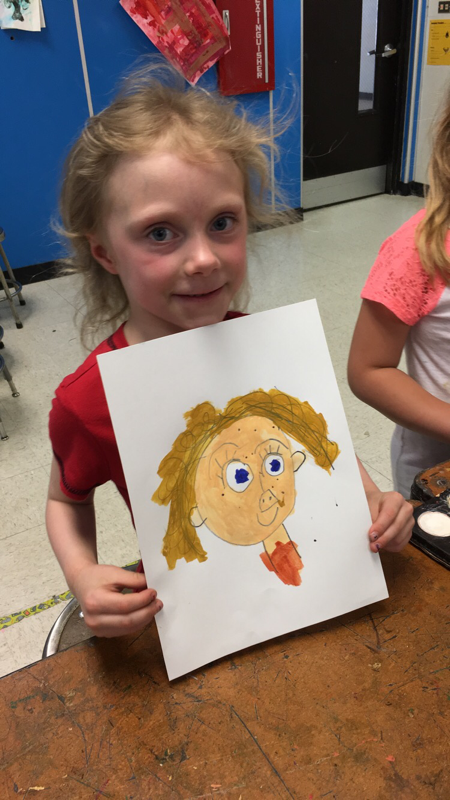
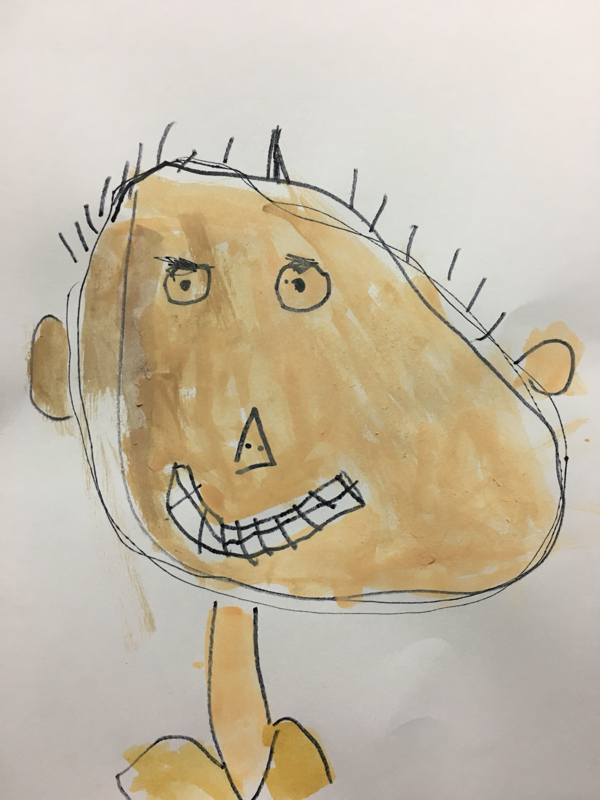
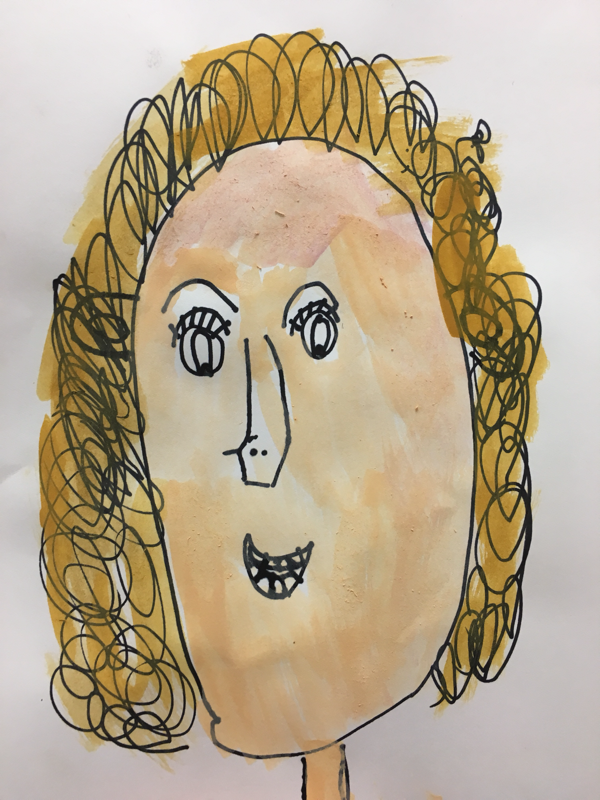
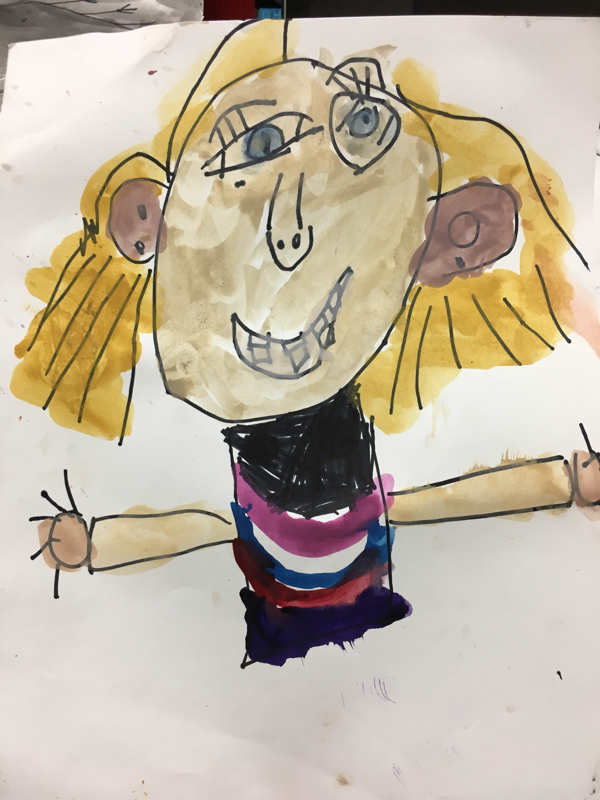
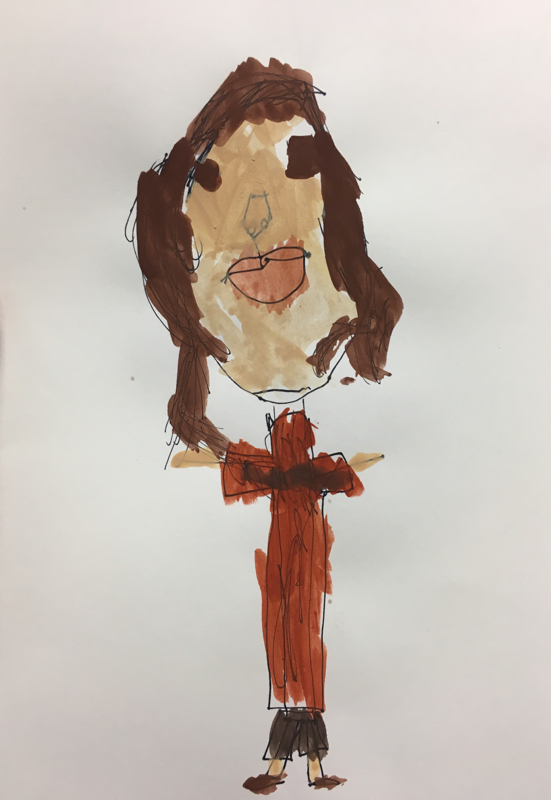
Kindergarten art class ended the same way it began...with self-portraits! It is truly incredible to witness the growth that happens in each grade, but nothing compares to kindergarten. Proud of their pieces- and rightfully so! These artists have grown so much over the past 9 months.
0 Comments
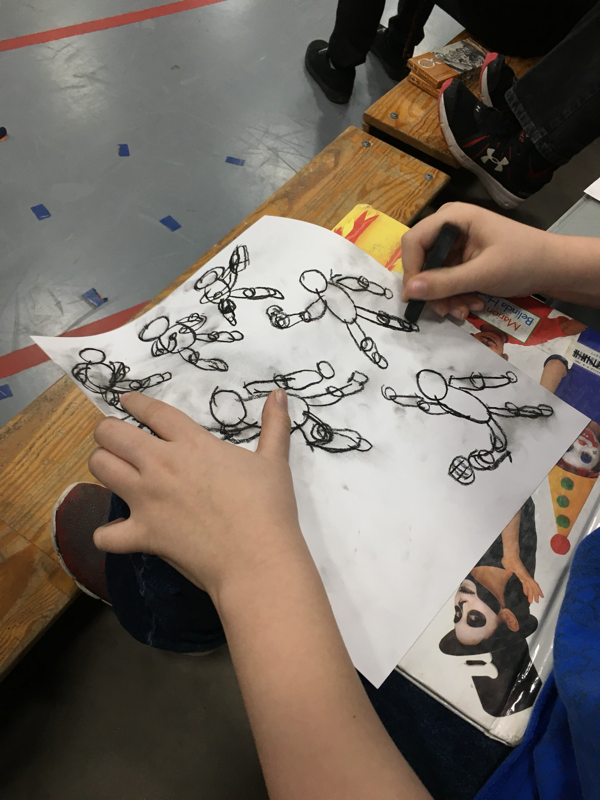
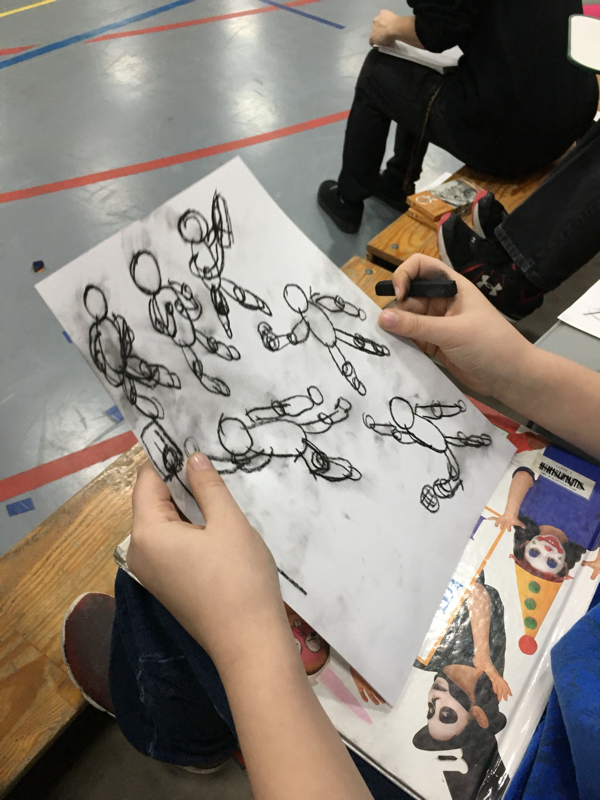
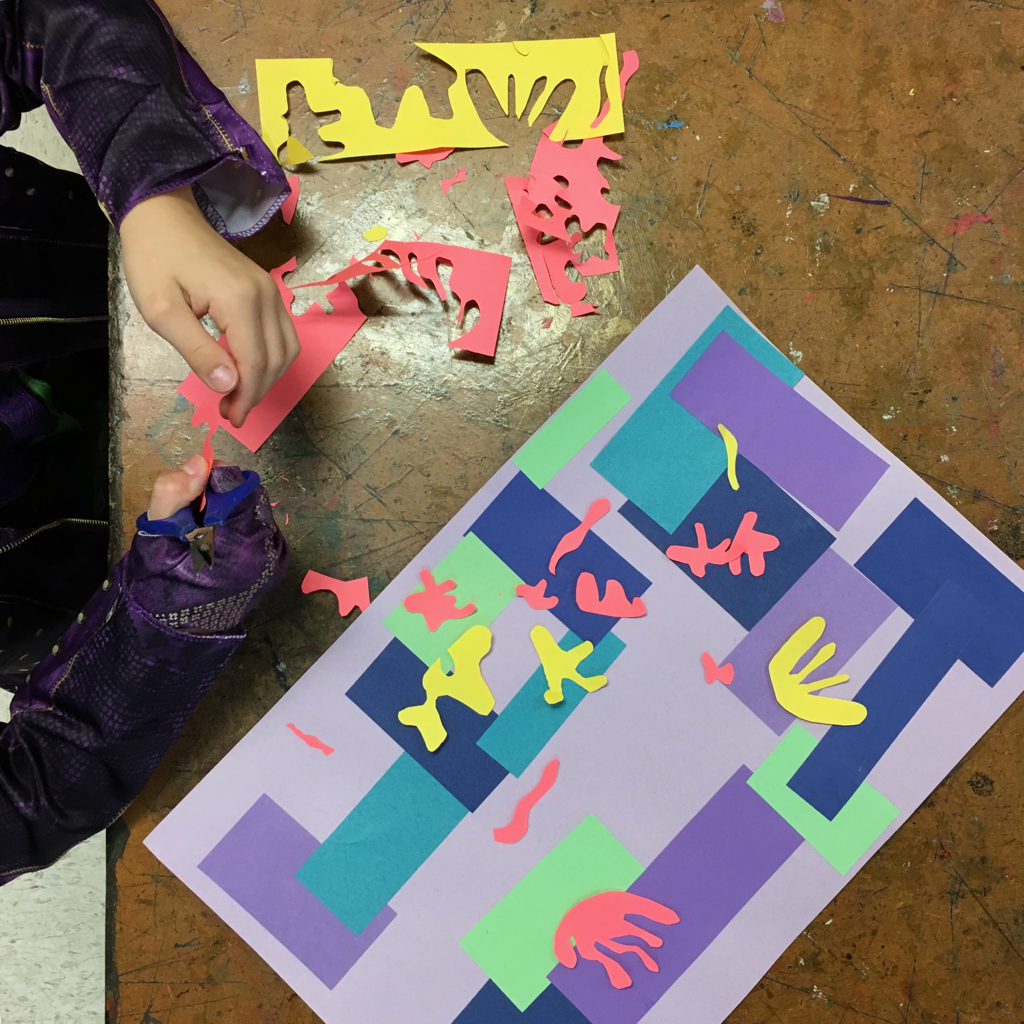
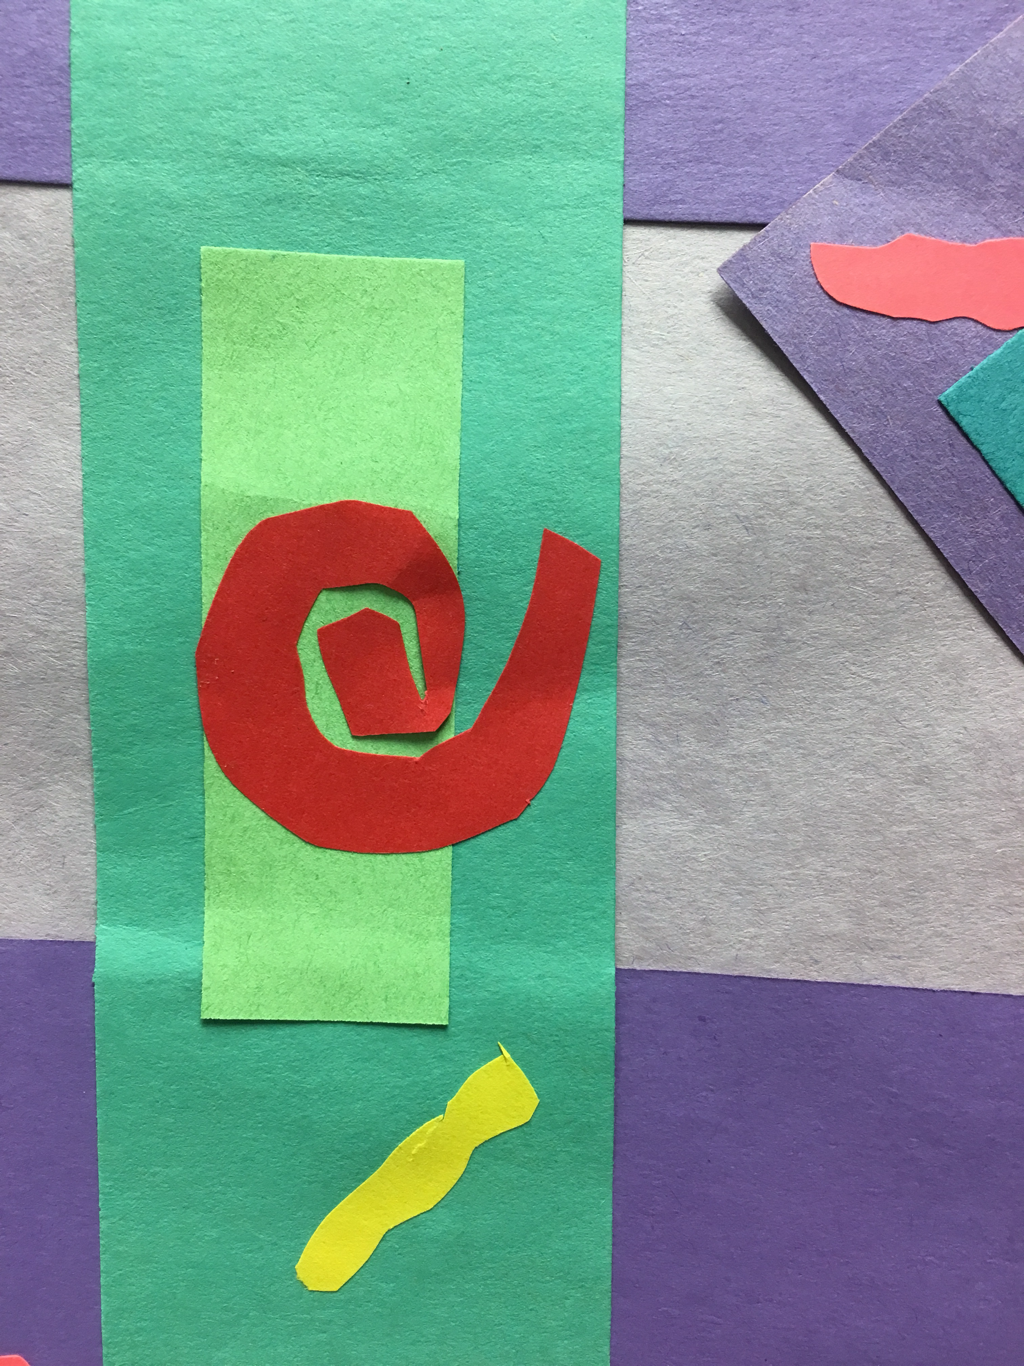
 Engaging every student in class, at the same time, with the same activity. Impossible, right? Not with CHOPPED! Art Class Edition! This is the closest I have coming to feeling art teacher enlightenment. The 25 minutes I spent observing my 5th and 6th graders working collaboratively to share ideas and problem solve in order to find their best solution was bliss, and had me re-thinking the way I teach and how I want to change the structure of my class in order to create this environment more often.
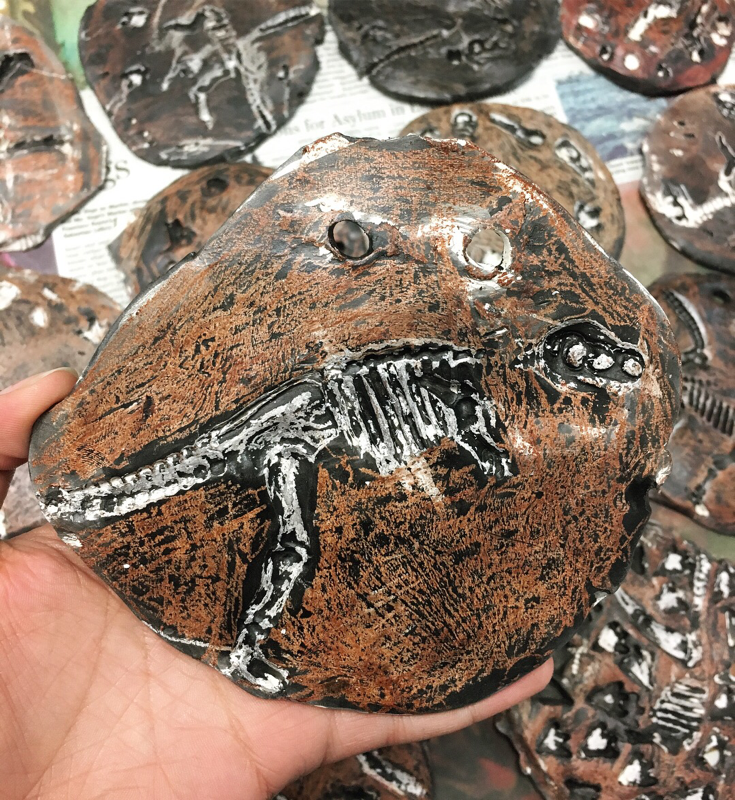
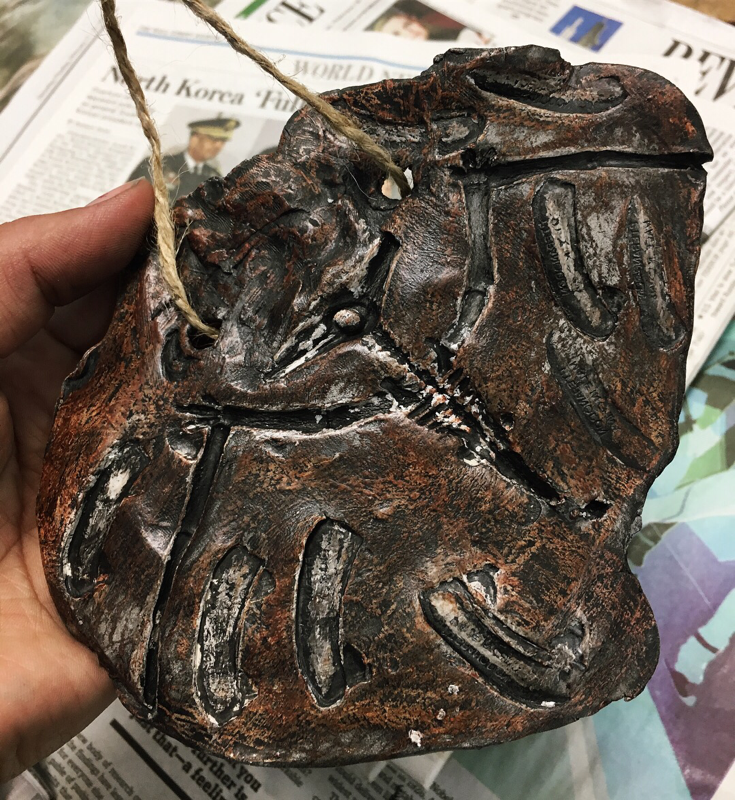
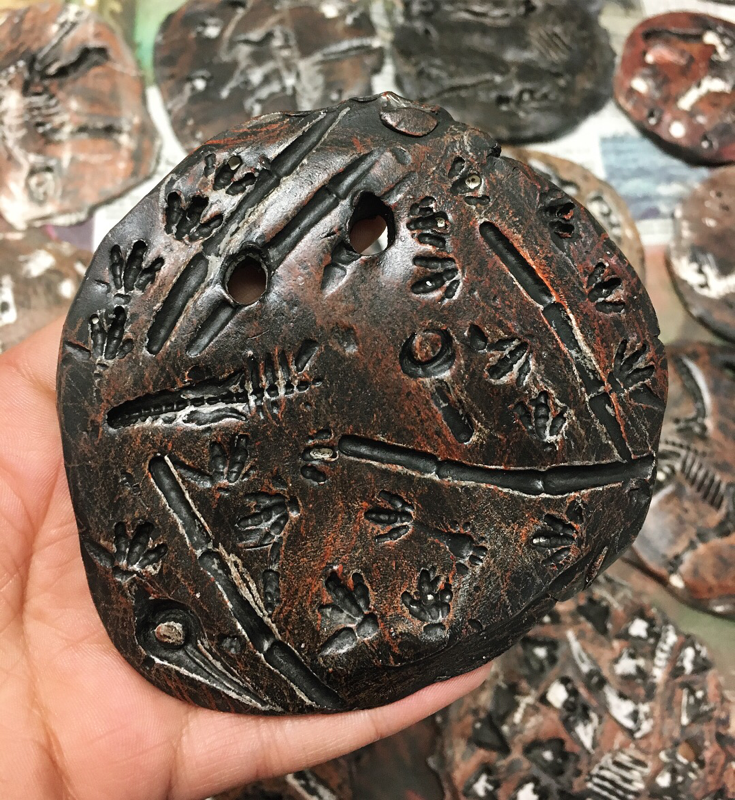
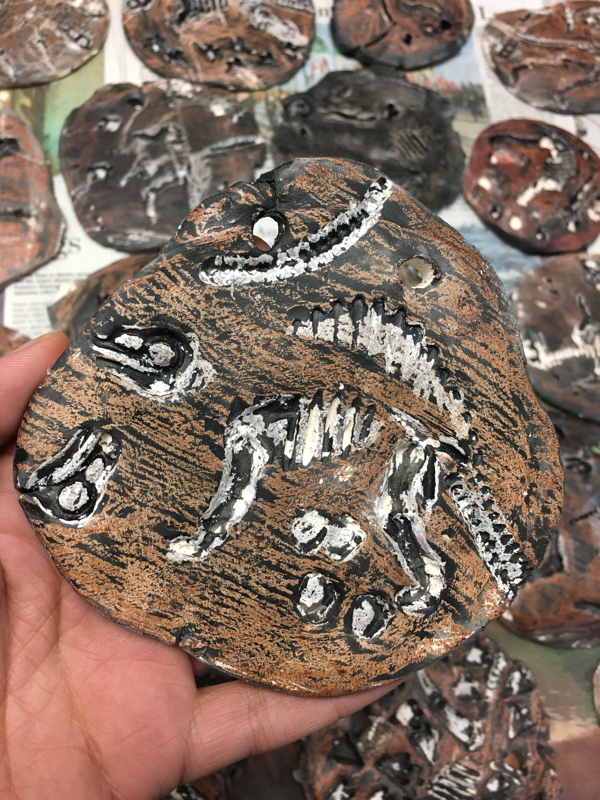
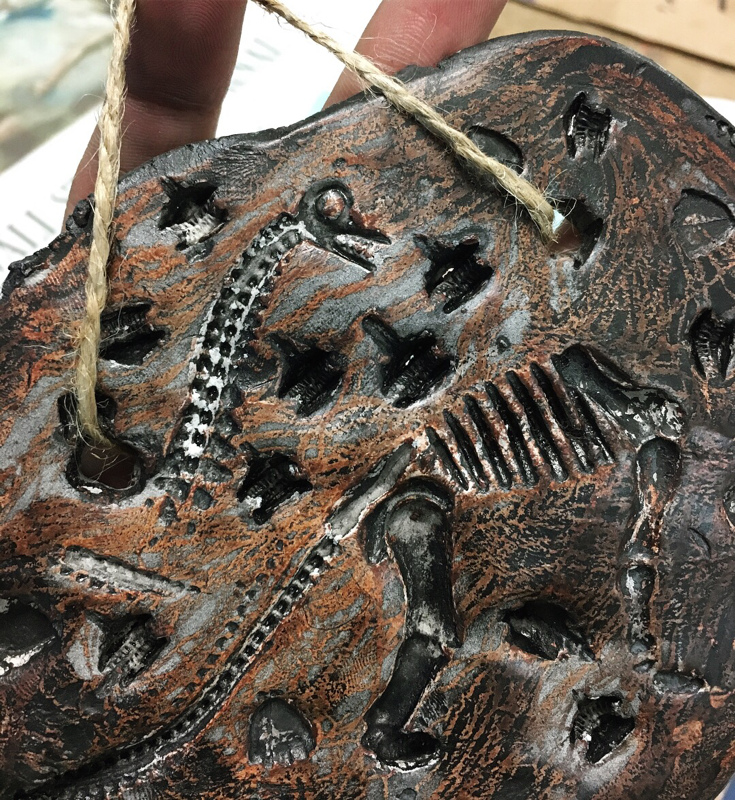
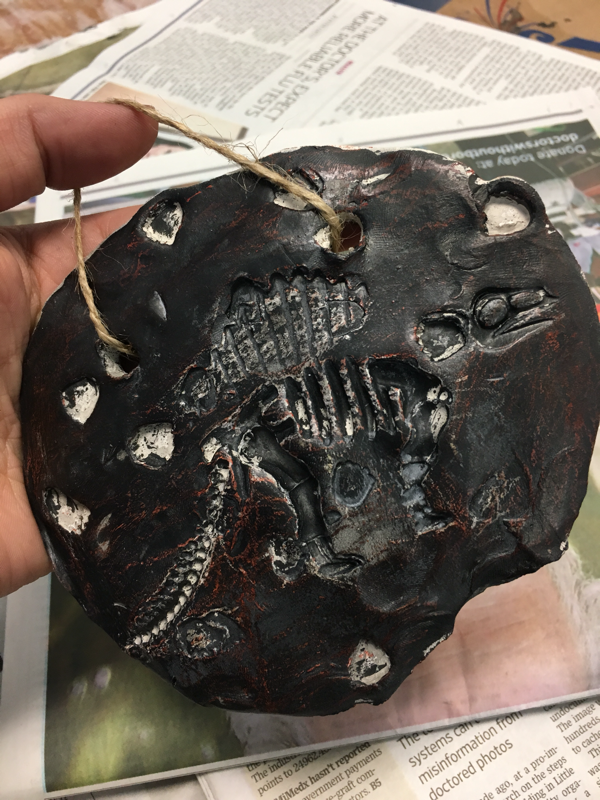
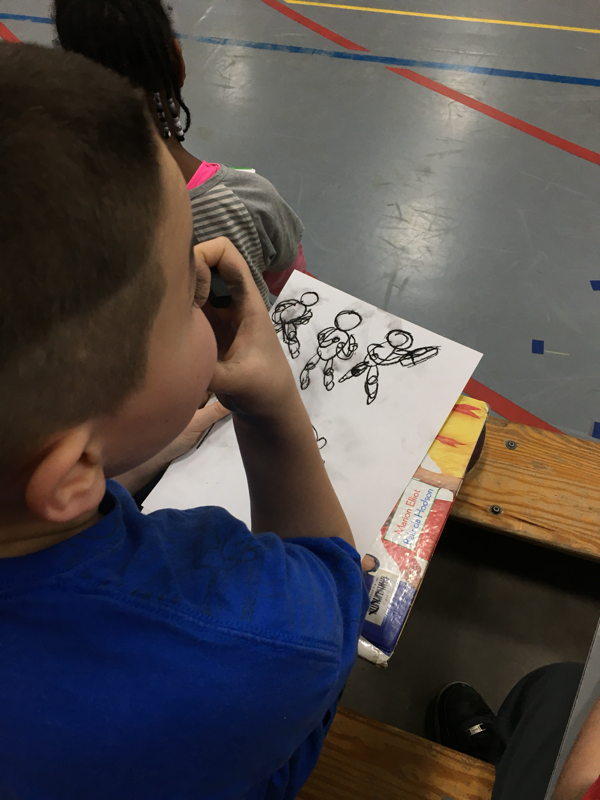
As a lead in to our clay dinosaur fossils, 2nd graders did a quick round of observational drawing (which they nailed, by the way, as seen above.) Here are our fossils! This was my very first time teaching clay and using a kiln, and I pretty much put it off as long as possible. I was terrified of blowing everything up. BUT, we got through it without a hitch and I am so proud of how they turned out! First, they filled in the fossil imprints with white crayon, then covered the remainder of their pieces with different shades of brown. I mixed up a few batches of watered-down india ink that students applied with a paintbrush over the crayon. After everything was dry, I sprayed a couple coats of clear matte finish over the top. Inspired by Art Teacher extraordinaire, Kaitlyn Edington, who used the a CD printing method as the background for some student self-portraits (find other awesome ideas on her Instagram page: https://www.instagram.com/artwithmrs.e/?hl=en) I tried CD printing for the first time with my first graders. To create the CD flower prints, students painted a CD (that I had hot glued a marker cap on the back, to make it easier to hold,) used a tool or their finger to draw a flower design into the wet paint, then pressed the CD facedown on a large piece of white paper. We used tempera paint, which seemed to dry just a little too quickly for the 1st grade pace. Because some of my slower workers ended up with flower prints that were a little thin, the next day we broke out the oil pastels and watercolors to fill in any empty areas, add details, and outline. We also used those oil pastels and watercolors (this combo is always a hit with the younger crowd) to create unique vases for their flowers. To finish it off, they chose a large piece of colored paper for their backgrounds and a patterned piece of scrapbooking paper for their tablecloth. This presented us with the perfect opportunity to talk about space.
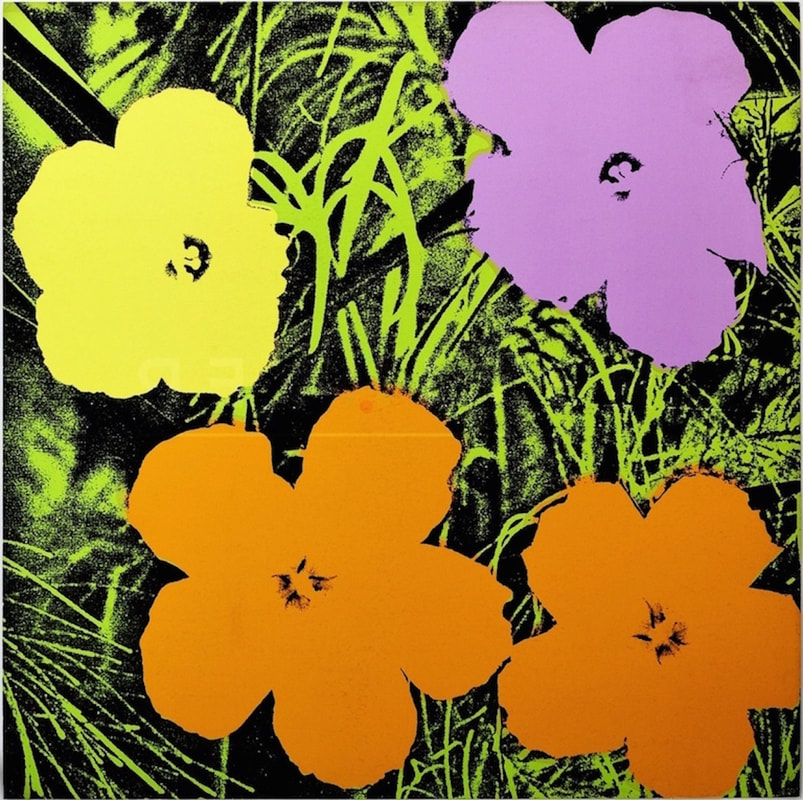
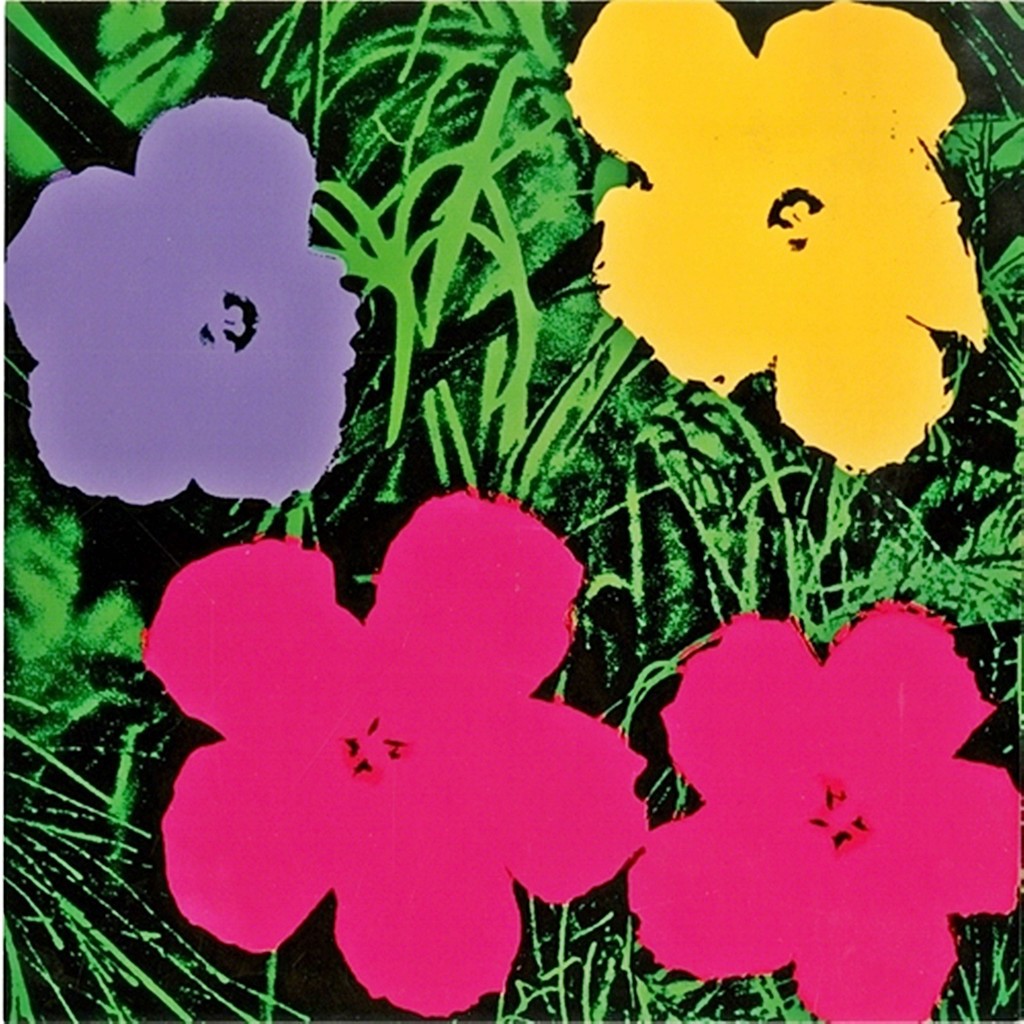
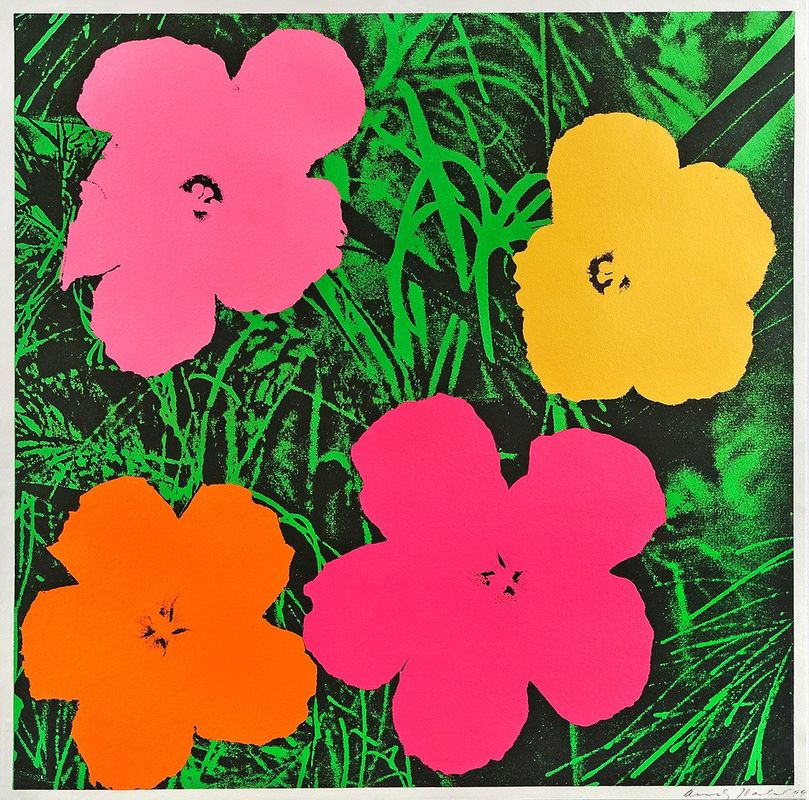
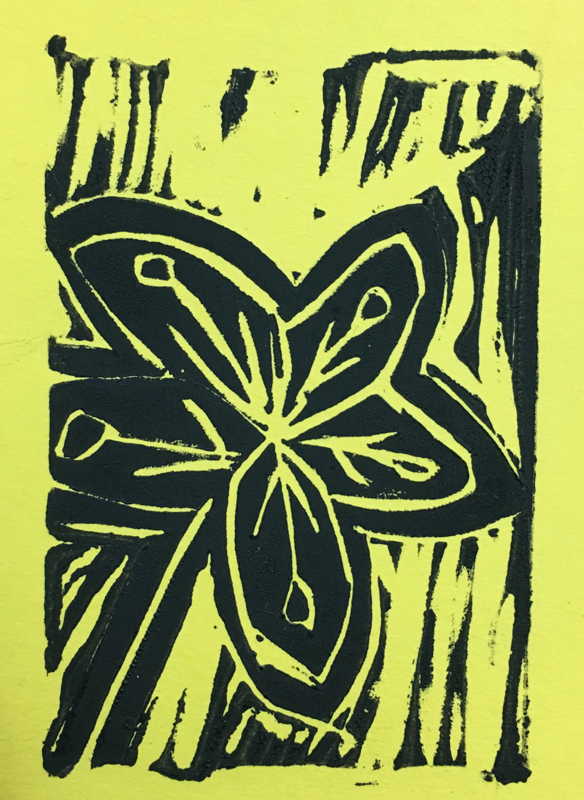
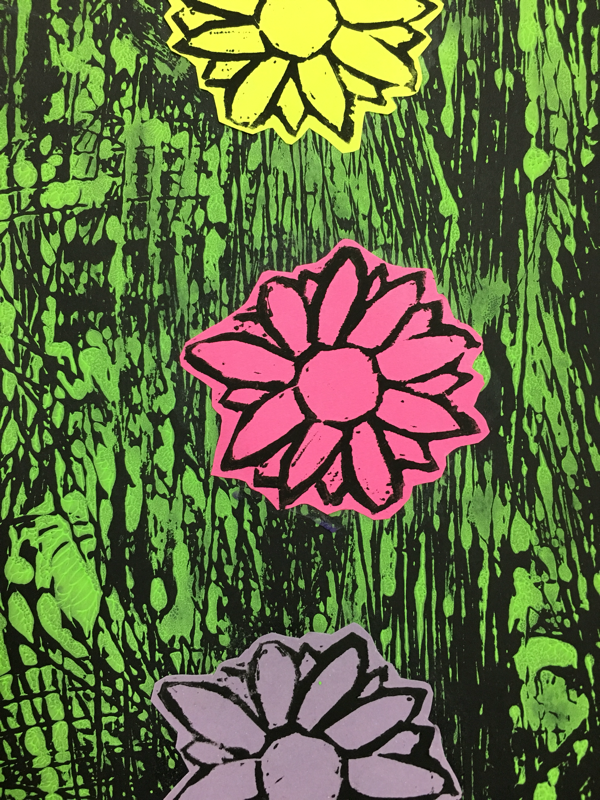
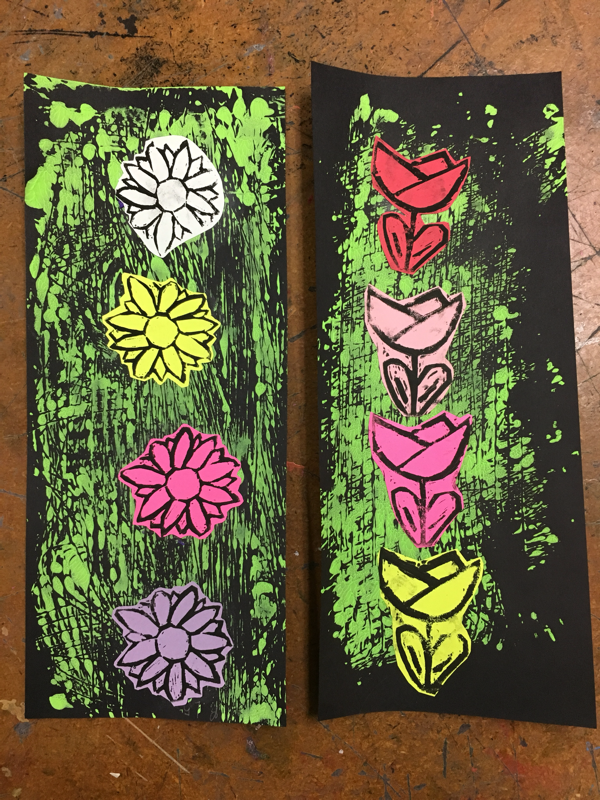
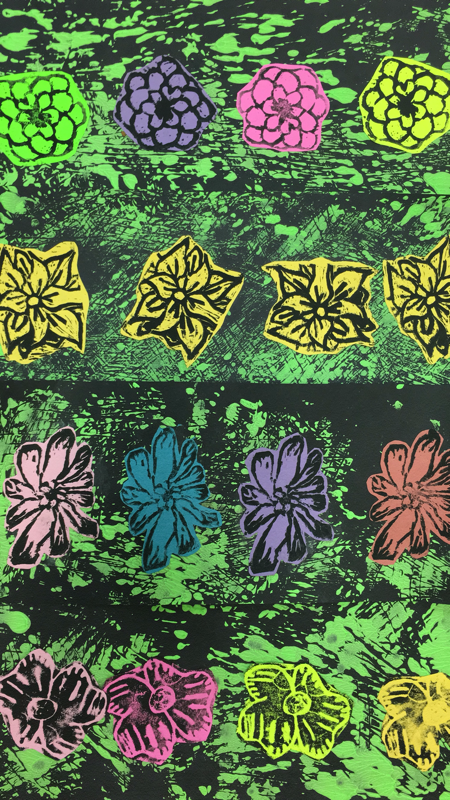
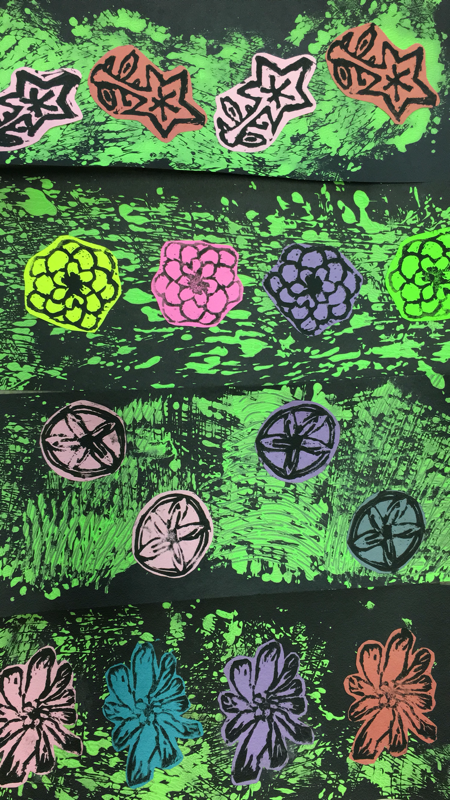
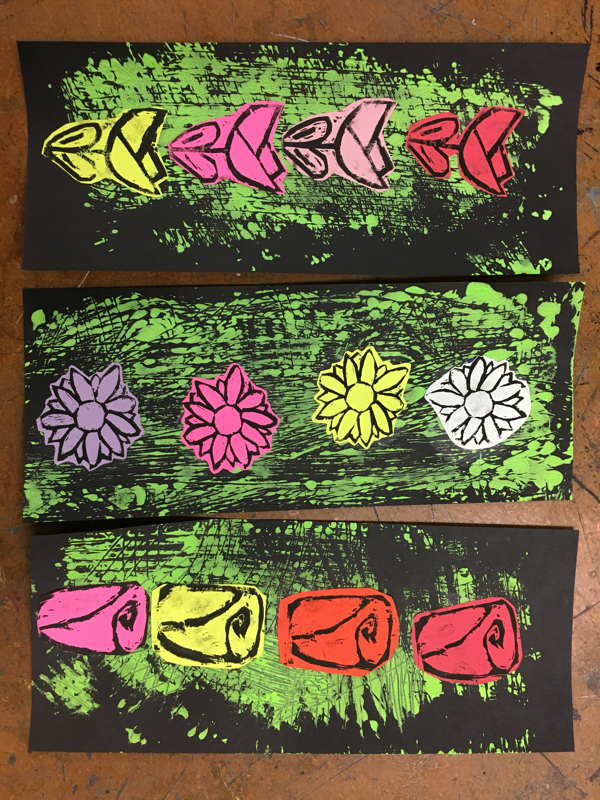
Prints from Andy Warhol's Flowers Series, 1964 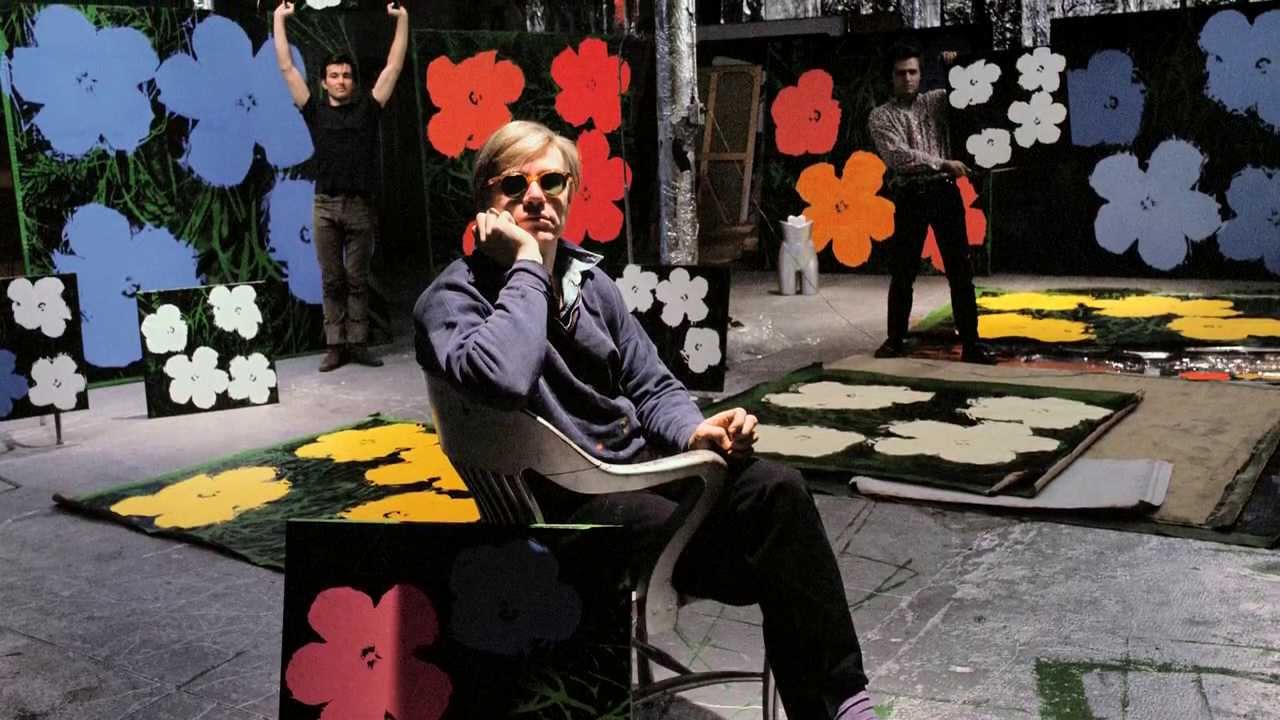 After watching a mini documentary about the life of Andy Warhol, 5th graders had the opportunity to explore a couple different kinds of printmaking. While the original Flower Series was created using the screen printing method, we opted for relief printing. Relief printing is one of my favorite types of art to create on my own time, and the kids seems to enjoy it just as much as I do. There is something about carving away at the block...definitely a practice in mindfulness! I LOVED the way these turned out, and they were proudly displayed until the end of the year. 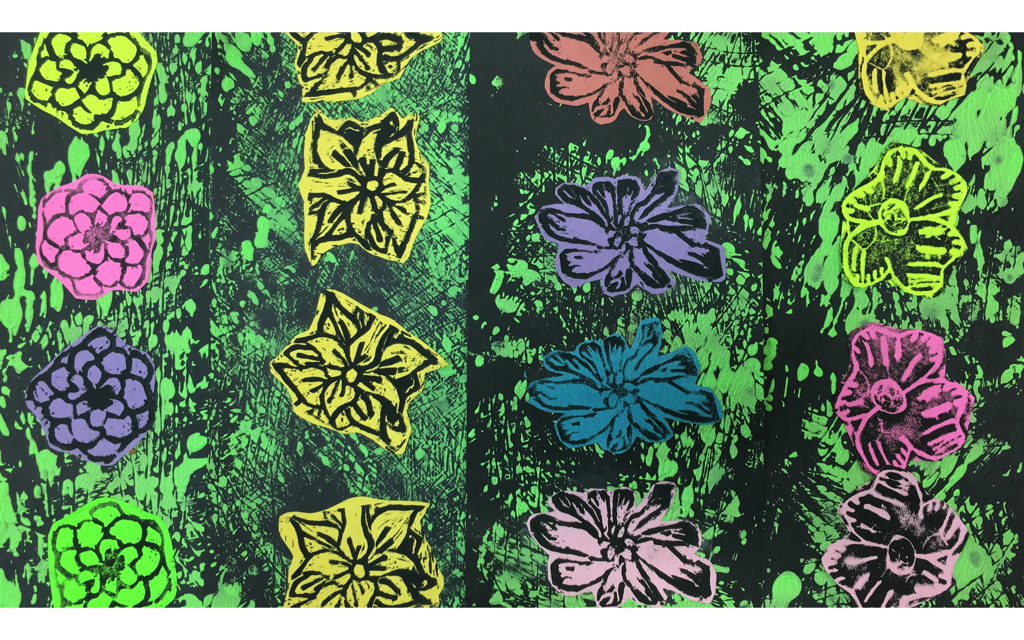 |

Sam PlaschElementary Art Teacher Archives
May 2018
Categories
All
|

 RSS Feed
